Today, I will show you how to set up Visual Studio Code for C and C++ programming.
Before setting up Visual Studio Code for C and C++ programming, you must first install Mingw 64 on your PC.
I will show you how to install and set up Visual Studio code on your Windows 10 operating system. Then, I will also show you how to set up your Visual Studio code for the C and C++ programming languages.
And you may also like 7+ Tricks to increase laptop speed.
Jump To
How to install Visual Studio code
To use the GCC compiler for C and C++, you first need to install the VS code for your PC. Here are the steps to install Visual Studio code.
- So, let’s begin installing Visual Studio on your Windows 10 operating system. First, you need to download it by clicking here.
- Now, after downloading Visual Studio Code, double-click on it to install
- After accepting the license agreement, click Next and choose your installation directory. I again recommended keeping it default.
- Click on next.
- In this step, check out all the options shown in the screenshot below. Now click on Next and tap on Install.
After installation has finished, click on Finish.
Now open the VS code because you need to add extensions to the VS code, which will help you run the C or C++ code more efficiently.
- These two extensions are
- C/C++
- Code Runner
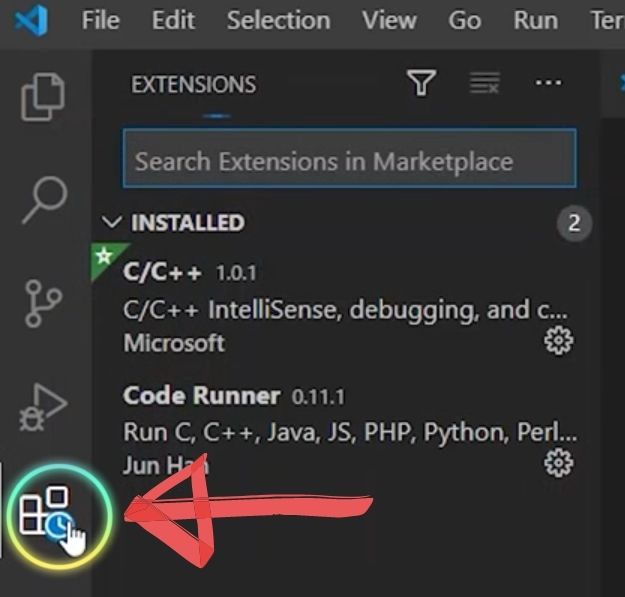
To download these extensions just open Visual Studio Code and click on the icon shown below
- Search for C++ and install the extension by clicking the install button.
- The following extension we are going to install is CodeRunner.
To download this extension, search code runner as you searched before, click on the install option and wait for the installation to finish.
After installing both extensions restart your Visual studio code.
Here is one important thing
After installing the Code Runner extension, the problem in your program is that if you have to take input from the user, then from this output tab, we can’t really provide the input. That’s because this output tab is read-only. So we need to have a solution for this one.
To solve this error
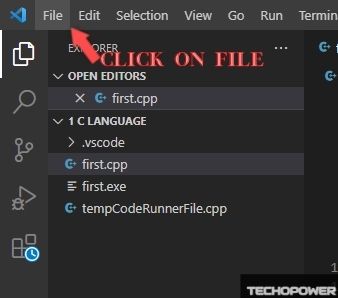
- First click on the file showing at least the top corner.
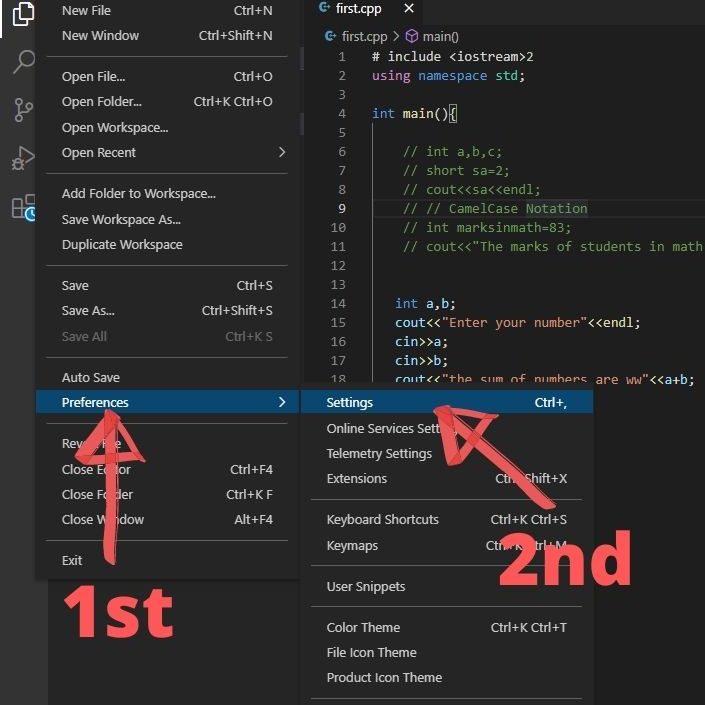
2. And you have to go to preferences and Here select settings
3. Here, you need to click on extensions. Now, you can see the run code configuration if you scroll down. Click on that.
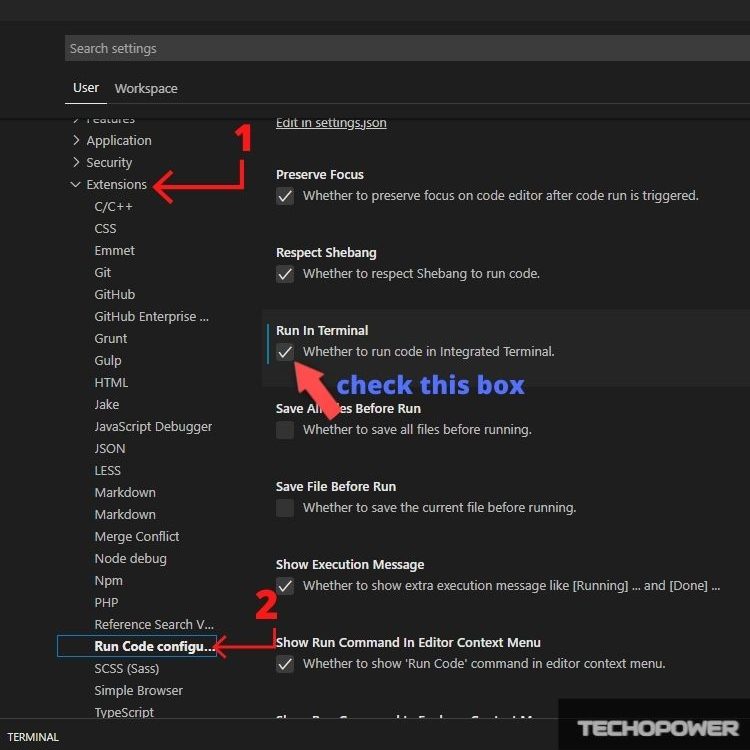
And again scroll down and here you need to check the run in the terminal.
- and after that press Ctrl+S to save it and
- close the settings
Writing and running the first program
Now that we have set up Visual Studio Code for C and C++ programming, we need to run a simple C program to check that your GCC and visual code are working.
For that open any folder on your pc. Now, right-click and open visual studio code.
To run your first program create a file like a demo.cc as shown.
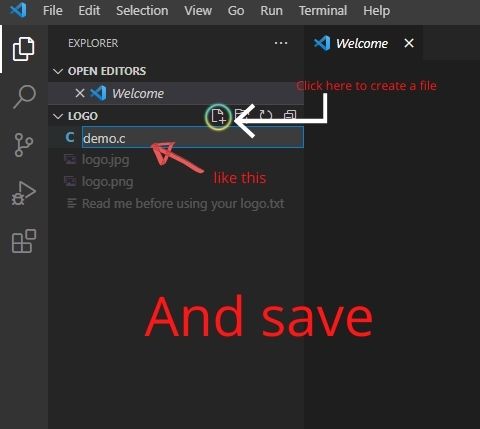
And Write a simple c program as
# include<stdio.h>
int main(){
printf(“Hello world”);
return 0;
}
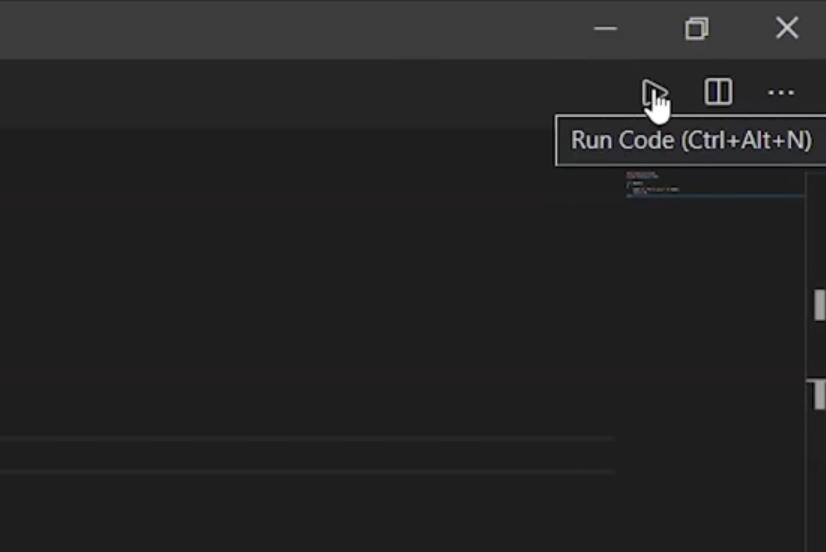
NOW save it by pressing Ctrl+s and clicking on the run button,
Congratulations on successfully setting up Visual Studio Code for the C and C++ programming languages if your program runs successfully.
But if it’s showing some error, message us on Instagram or leave a comment, and we will try our best to solve your problem. If this article about How to Set Up Visual Studio Code for C and C++ Programming is helpful to you, share it with your friends.
Check our other article–
Hello everyone, I am currently an engineering student who loves to write about the latest technology, gadgets, and reviews.